A site about my fishing journey across Singapore & Malaysia since 2006, places like Bedok Jetty, Labrador Jetty, Ford Road Jetty, St John's Island, Ubin Island. I crossed the border to Desaru, Mersing, Batu Pahat, Port Dickson, Malacca and as far as Terengganu at Kijal. Here also feature the stuff I made, the Bait Launcher, the Intex Seahwak II Inflatable boat etc.
While preparing the gears for the upcoming Pulau Ubin fishing trip, I realized that I have forgotten about the Surecatch Spinning Reel. Its Anti-Reverse was malfunction during the last fishing trip. Since I was doing the servicing and modification, I decided to strip the Surecatch up to find out if I could fix it.
As I understand how the Anti-Reverse works and I know where is the mechanism is, the job was made simple and as soon as I removed the spool I detected the issues. A tiny spring that latched on the stopper was broken, I removed it and it looked familiar. Over the years I collected many parts from spoiled fishing reels and some electronic gadgets. This tiny spring resembled those I stripped off from a old damaged Sony Camcorder. After some search I found one which is identical and as soon as I placed the new spring onto the Surecatch Spinning reel, the Anti-Reverse is back to its working condition.
Some lubrication was done and the reel is ready for action on the Pulau Ubin fishing trip. Stay tuned for the Over Night Surf Casting Fishing Trip at Pulau Ubin, in which we had a full night of action and fun. ============================================= Please give me your valuable comments to help me making improvement and click the LIKE and SHARE if you find the video is good. Subscribe to my channel for the latest update on the new videos.
While doing the servicing and upgrading of the Daiwa Millionaire Proteus 300, I didn't bother to avoid touching the fishing line with my oily hand as I had the intention to get them replaced once I completed the job. **Share this video by copying this link
**Check out my other videos by clicking this link I got this Penn Tournament 18lbs fishing line which is IGFA Class, I bought this when the shop was having the sales, it was a steal. This fishing line is also being loaded on my Abu Garcia, I love the smoothness on casting as well as the toughness.
The old fishing line on the Daiwa Millionaire was stiff and was tainted with oil, this would reduce the chances of getting bite as fishes don't really like the smell of the oil. When respooling the line we need to take note that due to the Multiplier/Baitcast reel has the horizontal spool, the drum of the new line need to be placed horizontally as well. This will greatly help on minimized fishing line from twisting and entangled during casting, the "Bird Nest" scenario is what we hate to faced when fishing. The theory is that we need to load the new fishing line according to it's memory. On a Spinning reel we need to place the drum vertically as it has a vertical spool.
I prefer to have the starting point at the center of the spool, I found that it's more balance and the fishing line is more even. A simple Uni knot will hold the line firm with another knot at the tag end. Slowly reel in from center to right then to left, the fishing line need to be tightly grab with another hand. Some anglers place the new fishing line drum inside a pail of water as they claimed more lines can be loaded into the spool. I never try it and I don't really buy that theory. Now everything has done and I needs to prepare my gears for the coming fishing trip at Pulau Ubin. Stay tuned for the upcoming series of my overnight fishing cum BBQ trip at Pulau Ubin. ============================================= Please give me your valuable comments to help me making improvement and click the LIKE and SHARE if you find the video is good. Subscribe to my channel for the latest update on the new videos.
After the Daiwa Millionaire Proteus 300 was serviced and lubricated, the next step is to upgrade the reel with the DIY Mono Mag as requested by my friend. **Share this video by copying this link
This DIY Mono Mag require very few parts, the most important part being the Rare Earth Magnet. I bought them few years ago when I was trying out the Magnetic Coupling for my DIY Electric Trolling Motor project, which was failed eventually. I gathered the necessary parts as follow, 1) 8mm stainless steel bolt x 1 2) 8mm stailess steel Nut x 1 3) Rare Earth Magnet (6mm OD) x 4 4) Wheel Air Inlet Cap x 1 5) Coil Spring (Customary) x 1
Basic tools required and some Epoxy paste was used and it took around 3 hours to complete the project. (not including the drying time for the Epoxy) As usual, mistakes were made and I had to do some amendment. However, the project was completed and the reel was on time for the Pulau Ubin fishing trip.
============================================= Please give me your valuable comments to help me making improvement and click the LIKE and SHARE if you find the video is good. Subscribe to my channel for the latest update on the new videos.
As soon as I have done the Bearing servicing cum repair, I proceeded on on the cleaning of the gear parts that I removed. Many had dried grease and dirt stuck on them but with the help of some petrol and WD40, some Autosol as well, I managed to got them all clean up. **Share this video by copying this link
**Check out my other videos by clicking this link All parts were put back and new grease was apply on each moving mechanism. I made full use of the Rocket Fuel Red Label that I bought few years ago. It was used on the moving part and on the Drag system as well.
The assembly was easy and the result is marvelous, cranking is extremely smooth without any resistance felt, the spool spin freely with no loud noise. It's near perfect servicing and the Daiwa is ready for the next stage. Up next in part 6 I will be installing the DIY Mono Mag onto the Daiwa Millionaire Proteus 300, stay tuned. ============================================= Please give me your valuable comments to help me making improvement and click the LIKE and SHARE if you find the video is good. Subscribe to my channel for the latest update on the new videos.
After the Bearing was removed, I found that it is wearing out. The thought of have the bearing replaced was not materialized as the inventories that I have don't have the same size as the one on the Daiwa Millionaire Proteus 300.
I decided to go a step further and did the Ultimate Bearing Servicing that I had learned from a fishing blog many years ago. I did the trick onto my Abu Garcia's Bearing and it's performance was greatly improved.
The trick is to remove the Dust Cover of the Bearing and have the Ball Bearing inside cleaned. To do this the Retaining Clip on the Bearing have to be removed using a Needle. Carefully pry out the tiny Retaining Spring and lift up the Dust Cover with the help of that same Needle.
I skipped a few steps to save some time, in actual servicing the Ball Bearing can be pushed out and the Bearing Housing can be cleaned inside out. All parts should be soaked in Cleaning Solution over night before fixing them back. Small hiccup forced me to paused for around half an hour as the Retaining Clip for the Bearing flew off to nowhere. Fortunately it was found and the Bearing was reinstalled properly. The end result was remarkable as the Spool is spinning smoothly again, it would perform better after the fishing line is replaced and aligned in order. In part 5 as well as the final installment, I put back everything and the Daiwa Millionaire Proteus 300 is ready to be upgraded to the next level. It will be fitted with the DIY Mono Mag which will be featured in the DIY Mono Mag series. So, don't touch that dial and stay tuned on this channel. ============================================= Please give me your valuable comments to help me making improvement and click the LIKE and SHARE if you find the video is good. Subscribe to my channel for the latest update on the new videos.
As I completed the Side Plate cleaning up I move on to the next stage, the Main Gear Assembly cleaning. This is the part that is very crucial when fighting with a monster fish. **Share this video by copying this link
The Clicker or Alarm was assembled after it was cleaned and greased. The Side Plate was placed aside and will be fitted with the Mono Mag later. There are two screws that's holding up the Main Gear Housing, upon removing the cover I found that the grease inside was almost fully dried, this explained the stiffness when cranking the reel.
Careful study was made before I proceed, even though the design is very similar to the Abu Garcia. I slowly removed all parts and was faced with another tough nut. The base plate was 90% corroded and there's not much I could do about it.
I continued to remove the Spool Shaft Bearing and again I faced some obstacle as the bearing was jammed inside the housing. It was then being force out using a long bolt and some gentle knock. P.S. This episode is too long and it couldn't fit in the Ultimate bearing Servicing, it will feature in Part 4. So up next in part 4, the Bearing has undergo more serious servicing and the result was.... stay tuned!
============================================= Please give me your valuable comments to help me making improvement and click the LIKE and SHARE if you find the video is good. Subscribe to my channel for the latest update on the new videos.
After spending hours on that stubborn tough nut, I finally successfully remove the jammed screw which hold down the Crank Handle. I proceed on to the next step and started to dismantle the Daiwa Millionaires.
Immediately I found out that this Daiwa Millionaires Proteus 300 was in really poor condition due to lack of maintenance. First off the turning knob for the Star Drag System was stiff and the threads on the Drive Shaft was covered with dirt. When it was removed there's only two spring washers found which I suspected some were missing, the spring washer act as some kind of tensioner for the Star Drag System and it should have more than two pieces. On top of that they were cover with dirty grease which was not helping in terms of reducing friction.
As I moved on further to remove the Main Gear Housing I could feel there was some resistance in between the reel frame and the main gear housing, it could be the Cast Control Bearing which holds the Spool Shaft had jammed. It was quite shock to see the internal body of the frame was corroded and the chrome coating was fading. I couldn't do much onto it as I do not have a metal plating equipment.
I moved on to the Side Plate and on the first inspection the exterior was defaced, dents and scratches were found everywhere. I can only said this, this reel has suffered a lot! There is these three screws that holds the side plate and once it was removed the side plate can be pop out. This side here contains the Clicker Assembly and we have to be careful not to loose the spring inside, slowly removing the side plate and it revealed the secret.
This design of this part is quite different from my Abu Garcia, it took me a while to study the lay out before I started dismantling it. The Clicker or Alarm Assembly was attached onto a plastic material plate that sits on the frame, this plastic material plate is also holding up the Spool Bearing and it also hold the End Cap. I removed the whole assembly and unscrew the End Cap. there is a rounded Brass Shim which the Spool Shaft will be pushed against it. I did some polishing onto the Brass Shim with the Fine Grit Sandpaper and some metal polisher, the Autosol.
Coming up in Part 3 more serious cleaning jobs were done and I did the Ultimate Bearing Services, stay tuned!
============================================= Please give me your valuable comments to help me making improvement and click the LIKE and SHARE if you find the video is good. Subscribe to my channel for the latest update on the new videos.
Few years back I read about the advantage of having a Mono Mag installed on the Multiplier, it gives a better control during casting and it will improve the casting distance significantly. After some research I decided to have it fitted on my Abu Garcia C4 6600 and it really helped to improve greatly on the casting distance. My friend heard about it and he asked if I can help to....
My friend told me that his multiplier is always having problem during casting, he always gets Bird's Nest if he didn't thumb down on the spool in time. It seems that the casting control has worn out and I told him my Abu Garcia C4 6600 doesn't have any breaking blocks in it, all thanks to the DIY Mono Mag I fitted on it.
So I agreed on helping him to fit the DIY Mono Mag on his Daiwa Millionaire Proteus 300. On top of that I even suggest to service the reel, it is really poor maintained. I told him that he will be having a smooth casting multiplier reel to do the surf casting at Pulau Ubin, we had organized an overnight fishing trip in two weeks time.
It was until the last three day before the Pulau Ubin fishing trip than I started the servicing and upgrading of the Daiwa Millionaire Proteus 300. Immediately I faced some obstacles and it took me quite a while just to remove one small screw.
Up next in Part 2, I will get inside the Daiwa Millionaire Proteus 300, stay tuned!
============================================= Please give me your valuable comments to help me making improvement and click the LIKE and SHARE if you find the video is good. Subscribe to my channel for the latest update on the new videos.
I am always a fan of Surf Casting ever since I restarted fishing in 1995. (Read the story here) As a matter of fact I wasn't into full gear until my friend Lawrence showed me what he can do with his Shimano Thirteen footer Telescopic Fishing Rod. (Check out my pond fishing trip here) Instantly I became a Surf Casting Fishing Fanatic. Although in the later stage I am more versatile and do many other type of fishing like offshore fishing, long line kite fishing, cast netting, inflatable boat fishing, I even went on creating some gadget like the Compressed Air Bait Launcher to shoot out the bait. **Share this video by copying this link
Over the years of fishing while doing the surf casting at the beach we sometimes face the problem of the sinker being flushed away by the strong current. It is quite frustrated when you fish at a crowded spot with many fishing rods on both side, it's either your fishing line might cross over the other angler's fishing line or vise versa. It is also a headache when both anglers are using braided fishing lines. When this post about the DIY Sand Grip Sinker came up on a fishing forum it immediately caught my attention. it's easy to make and low cost, it can be done on any type of surf casting sinker as well. The added DIY feature on to the normal sinker helps a lot during strong current fishing day, sinker is holding up firmly at the sea bed thanks to the four steel wire that attached to it. Back then there were not many commercial Sand Grip Sinker available here and sometimes you might not be able to find one. The price is also an obstacle as it normally priced at few times higher than the normal sinker. We all knew that sometimes the sinker might ended up deep in the sea due to snag line and this DIY Sand Grip Sinker is definitely a saver of your pocket. The construction of this DIY Sand Grip Sinker require minimum materials. You only need basic tools like Pliers, Nail Clipper, some Scotch Tape and some Fishing Line. The cost of making one is less than a dollar and it is worth every penny. Lastly some basic knotting skill and you are good to go. In this video I will show you how you can build this DIY Sand Grip Sinker in less than 15 minutes.
============================================= Please give me your valuable comments to help me making improvement and click the LIKE and SHARE if you find the video is good. Subscribe to my channel for the latest update on the new videos.
Few years back I was fishing with friends at Punggol, while waiting for the bites we saw a small boat heading towards the Coney Island, which's right opposite of where we were. We watched them docked their boat at the beach and fished on the Coney Island. At that moment we were thinking that how nice it would be if we had a small boat that could bring us there. I even suggested to get some plastic barrels or big piece of Styrofoam and tied them together to ferry us across.
The idea of getting a boat was not materialized, here in Singapore you are required to have a Power Pleasure Craft Driving License (PPCDL) to drive a boat which have motorized device on it, be it petrol or electric. And the wild idea of having barrels or Styrofoam tying together was abandoned as the current at the canal is quite strong.
One day while browsing the Chinese online store AliExpress.com I came across this inflatable raft and was hooked on it, I decided to get one of this for fishing. I spent almost two months reading reviews and watching videos on YouTube to find out which brand and model is best for me, I also needed to consider on the price tag as I was on a tight budget. Various online stores were visited and eventually I found the cheapest seller on Taobao.com, another Chinese online store, but the problem was that they didn't offer international shipping. Coincidentally I heard of my elder sister was coming to visit my parent in Malaysia and she worked in Beijing, China. I made some calls and she agreed to help me brought back the raft and the rest was history.
I anxiously waited for almost three weeks and when I picked up my sister at the Singapore Changi Airport I finally saw it, it was wrapped nicely with layers of plastic sheets and it was heavier than I expected. My sister complained to me on how difficult it was to bring it here and I felt bad as I told her that the package was not bulky and heavy. After sending my sister across the border to my parent's home in Pontian, I returned to Singapore with full of excitement and was eager to unwrap my new toy.
I carefully unwrapped the package with a penknife as it was wrapped with thick plastic sheets with strong scotch tapes all over it, no damages were spotted as the carton was well protected by the three pairs of Life Jackets, the seller cleverly placed them at the three sides of the carton and the remaining side was stuffed with lot's of bubble wrap. There you are, the Intex Seahawk II Inflatable Raft which I purchased from the Chinese online store and the three pairs of cheap Life Vest were given as a freebies.
When I opened up the carton there was a huge carrying bag which stored the raft, I didn't know the package included the bag and I was thinking of making one. I lifted the bag out from the carton and unzipped the bag, the accessories were bagged separately into thick plastic bag, first item I took out was the hand pump, then a pair of aluminium oars, two set of inflatable seats and two rubber pouches, a Menu was found too with the soft plastic pressure gauge ruler inside and lastly the Seahawk II inflatable raft.
I lifted out the raft with the help of my daughter and we laid the raft on the floor to check for defects, It turned out to be perfect and the next step was to inflate the raft up to find out if there was any air leakage.
The Intex Seahawk II come with three separate air chambers, one on the each side of the tube and another one is the floor base. The main air chamber (the tube) is using the Boston Valve whereby the floor base is using a normal air valve. There was no indication on how much air pressure could be inputted, according to the Menu it said using the soft plastic pressure gauge ruler to measure the printed marking on the raft, do not over inflate by exceeding the mark. I did some research at some website and many said it depends on the weather and temperature, as in hot summer day the raft should not inflate to it's fullest, on the other hand during cold season or night it can be inflated to it's hardest. Anyway for now my intention was to test for air leakage so it didn't really matter.
The Intex company has marketed this raft is capable of fitting in three people and the advertisement has shown a family of three enjoying the raft on a lake, my verdict was this raft is just nice for two adults of my size for fishing. On the inner side of the tube there is some fine print saying the maximum weight it can carry is 200kg, which is also just nice for two 70kg adults and some fishing equipment. So if you are lucky enough to hook up a fish that is 70kg during the fishing trip with this raft you might need to call for help. : P
I took out the hand pump and started to inflate the raft, it was quite easy at the initial stage but after the air chamber no.1 was done, I could feel the sourness on my arms and back, my legs were tired too. I regretted for not getting the Electric Air Pump which cost $30, saw on a YouTube clip someone using the Electric pump to get the raft fully inflated in minutes with no sweat and Yes, I was sweating like a cow for your info.
Me and my daughter took turn to struggle with the hand pump for almost 25 minutes and we finally got it done. The Seahwak II looks solid and spacious, the inflatable flooring is so comfortable and the inflatable cushion seats are nice as well.
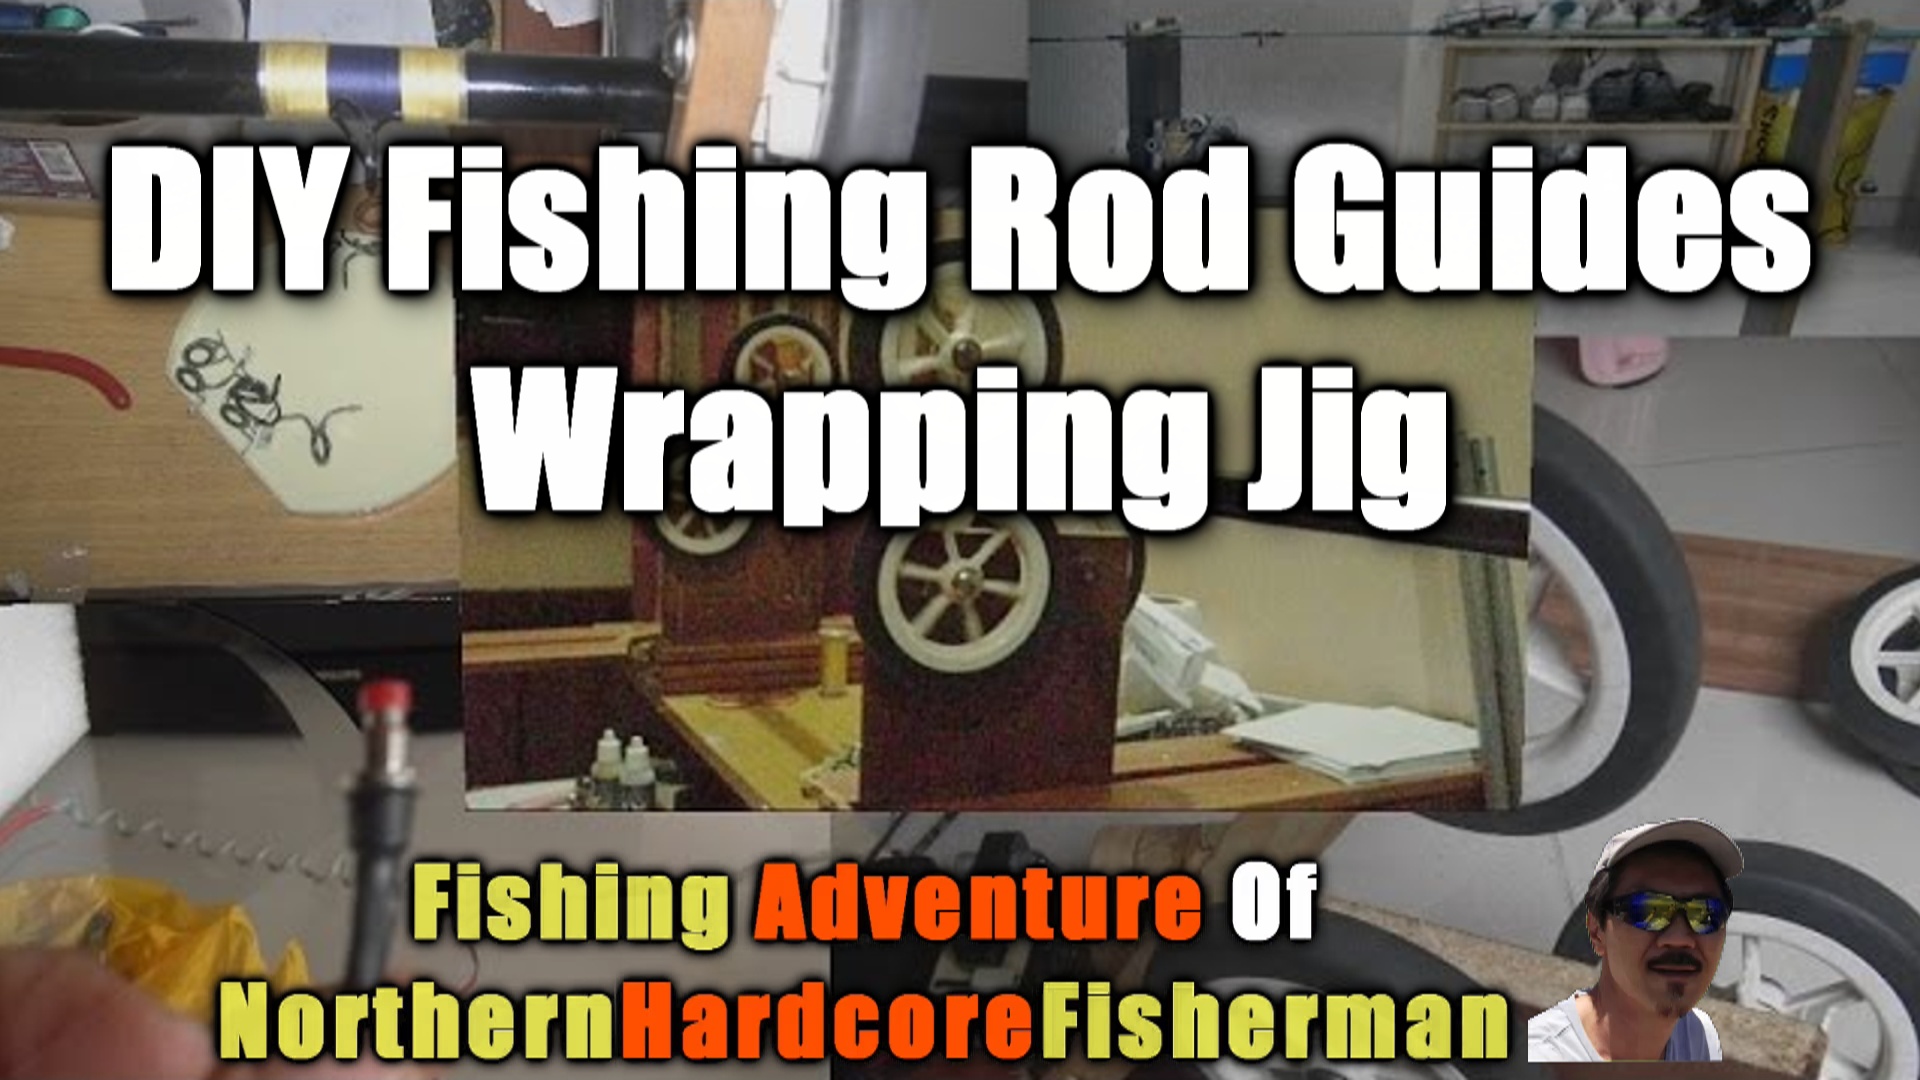
A DIY project that I had made in 2009, the Fishing Rod Building Jig or Fishing Rod Guide Wrapping Jig. Back then whenever my rod guide broken I needed to send it to the tackle shop for repair which is a distance away from where I lived. Most of the time it also took quite a while to repair and I was forced to stay dry (no fishing) during the wait. Besides the long wait, the repairing cost of the rod guide is quite expensive too, I once broke the rod tip and it cost me $50 to had it replaced.
Broken guide
I decided to do some researches on how to repair the fishing rod guide on my own. When I realized that it isn't that difficult to do it I began to practice on one of my fishing rod which suffered broken rod guide. Very soon after I found out that the wrapping work was quite a tedious job and I figured that a fishing rod guide wrapping jig might be helpful, it would also make the wrapping job faster.
Commercial Jig
Pro DIY Jig
Complicated DIY Jig
Again more studies and researches was made, the ridiculous price tag for a commercial rod building jig forced me to start another DIY project, which was the Fishing Rod Guide Wrapping Jig. I went through the junk collection of mine and came out with a prototype of this fishing rod guide wrapping jig. It was made from a pair of Shower Sprinkler holders, a small AC fan motor and some other miscellaneous items.
Shower Sprinkle Holder
Small AC Fan Motor
Push Button Control Switch
The Prototype
After some test on the prototype I began to build the jig using some plywood, the end result was satisfying and I managed to increase the wrapping speed by ten fold! I started to proceed onto the next project as soon as I done the repair.
Groove was cut
Fan Motor Mounted
Rubber Band as Belt
The First Model of Completed Jig
A Pioneer thirteen footer surf casting fishing rod was bought some time ago during the sales promotion at this tackle shop, it was a impulsive purchase and it was meant for the spinning reel. The rod was under utilized as most of the time I would prefer my old pal, the Loomis & Franklin, another reason was I began to fall in love with the multiplier reel. When I received my newly acquired toy, the Abu Garcia 6600 C4, which is a multiplier reel, I tried pairing it with the Pioneer thirteen footer, the result was bad. I couldn't really cast far and I spent most of the time clearing the "Bird Nest" on the Abu during fishing.
Abu Garcia 6600 C4 with Upgraded Mono Mag and CT Cage
The thought of buying a new fishing rod couldn't materialize as I was out of budget after buying the Abu. After some thought I decided to convert the Pioneer fishing rod to suit for multiplier reel. I had read about some anglers converting it and it's workable. So the new project began, I downloaded the data sheet for rod guide placement from a famous UK Rod Builder and I had learnt on how to determine the backbone of the blank. The Pioneer was striped naked and new coating of paintwork was given. But as I started the rod guide wrapping, another issues surfaced. I found that the jig that I had made was limited to the smaller size rod, it couldn't fit in the thick long surf casting rod like the Pioneer.
I had to halt the Pioneer rebuilding project and switching to yet another project, the Upgrading of the Fishing Rod Guide Wrapping Jig. The old jig was given a complete makeover and my daughter's old stroller was dismantled. (When I found it covering with dust in the store room) It's wheels were made into good use, three wheels were grouped to form as the blank holder, the top wheel was fitted with a arm made out of wood, it was then fitted with a small spring to give some strength for it to claim down the blank. The AC fan motor had a speed controller added, with that speed controller I could set the pace according to my need, it was extremely helpful on the Epoxy drying process too.
The Stroller's Wheels with Wooden Arms
Constructing the Jig Table
Added Speed Control
Three Wheels Clamp
The Blank
New Position New Wrapping
It was Converted from a Spinning Reel Rod
Almost Complete
And there you have it! The new fishing rod guide wrapping jig was born, as you can see in the video, it spun smoothly and silently, which also gave me an advantage to work into the late night. I continued on the Pioneer rebuilding and two weeks later the Pioneer was reborn!
On the 10th of October 2009 the All New Thirteen Footer Surf Casting Fishing Rod which paired with the Abu Garcia 6600 C4 made it's debut at the Air Papan Beach, Malaysia, since then the rod roamed together with me until today.


.jpg)
.mp4_20150208_183838.303.jpg)


